 listicle
7 Steps to Prepare Your Home for Lead Inspection
Table of Contents
- Step 1: Understand What a Lead Inspection Involves
- Step 2: Clean High-Touch Surfaces and Floors Properly
- Step 3: What Not to Do Before Your Lead Inspection
- Step 4: Prepare Access and Documentation for the Inspector
- Step 5: How to Pass a Lead-Safe Inspection
- Step 6: Understand Your Lead-Safe Certificate for Landlords
- Step 7: Know What Happens After Testing and Results
- Frequently Asked Questions
Last Updated: October 11, 2026
Step 1: Understand What a Lead Inspection Involves
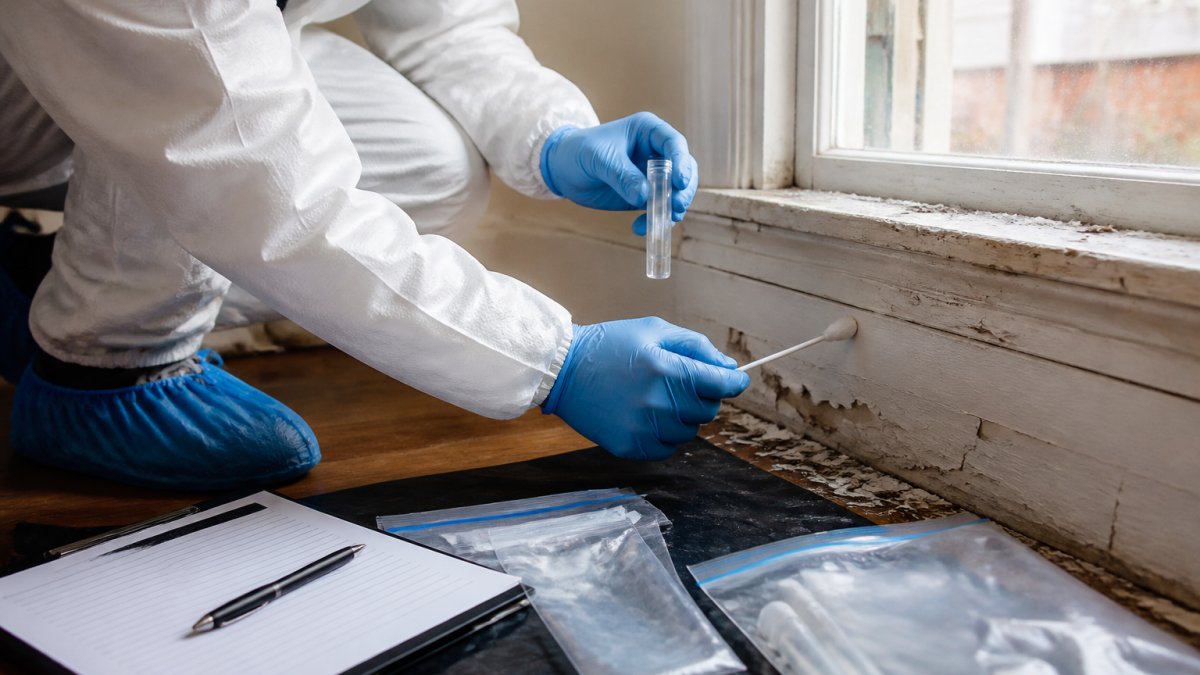
To prepare home for lead inspection, you need to understand that a lead inspection combines visual examination and dust wipe sampling to identify lead hazards in rental properties. For the Greater Philadelphia area, this inspection determines whether your property meets EPA safety standards for lead dust levels and qualifies for a Lead-Safe Certificate. The inspector examines painted surfaces, window sills, floors, and other areas where lead-based paint may exist, documenting paint condition (chipping, cracking, peeling, or intact) because deteriorating paint poses greater hazard risks.
Visual Inspection and Paint Assessment
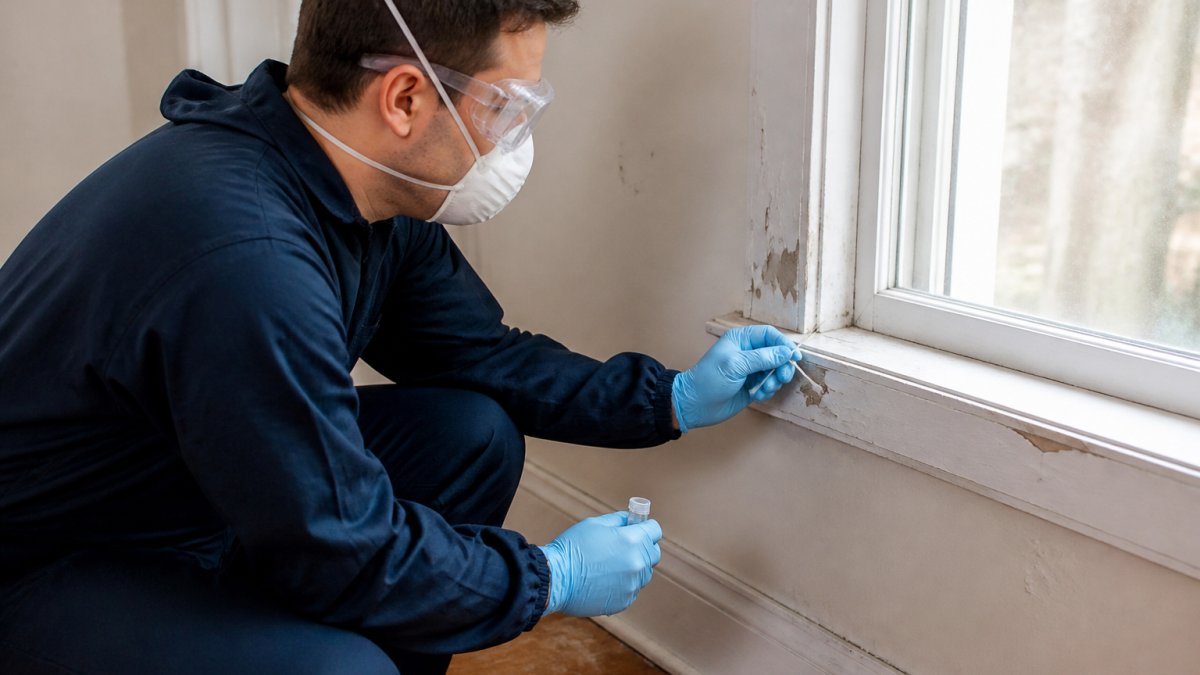
Inspectors examine all painted surfaces, walls, moldings, doors, window frames, and exterior elements, paying particular attention to high-touch areas where paint wear is most likely. Chipping, cracked, and peeling paint create dust that may contain lead. The inspector photographs areas of concern and documents their exact locations to determine which surfaces require dust sampling and testing.
Lead Dust Wipe Sampling
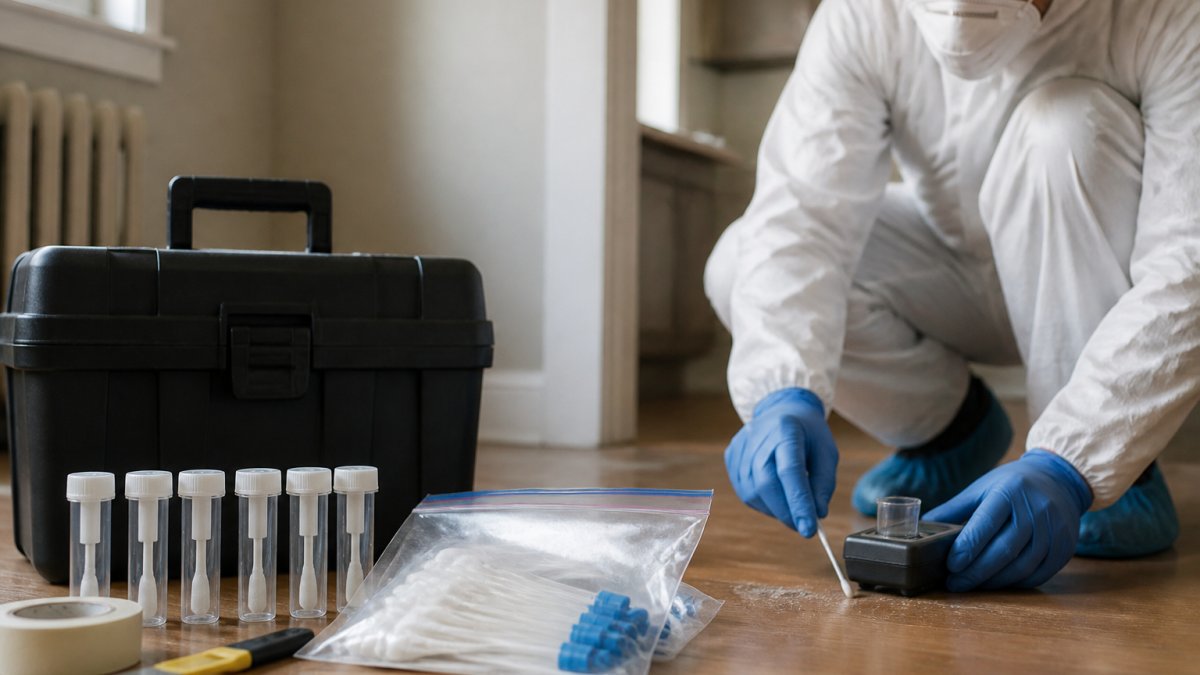
Dust wipe sampling involves collecting samples from floors, window sills, window wells, and other surfaces using disposable wet wipes. These samples are then sent to a certified laboratory for analysis. The lab tests whether dust lead levels exceed EPA action levels, which determine whether your property passes or requires remediation.
According to EPA guidance on lead hazard evaluation, dust wipes are collected from specific surfaces to assess lead exposure risk. The sampling process is straightforward but requires precision, the inspector must follow standardized collection methods to ensure results are valid and defensible.
Step 2: Clean High-Touch Surfaces and Floors Properly
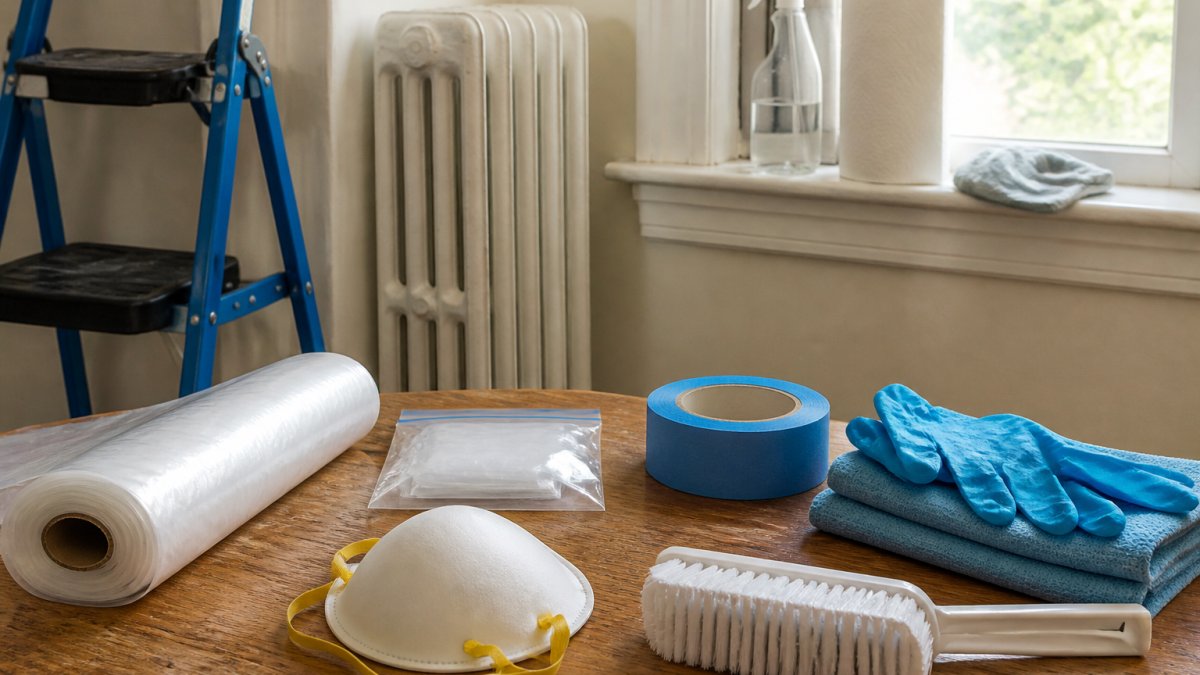
Clean high-touch surfaces where dust accumulates naturally: window sills, window wells, door frames, and floor areas.
For floors, vacuum thoroughly with a HEPA-filter vacuum cleaner, then damp-mop with clean water to capture dust that regular vacuuming may miss, paying special attention to corners, baseboards, and areas under furniture.
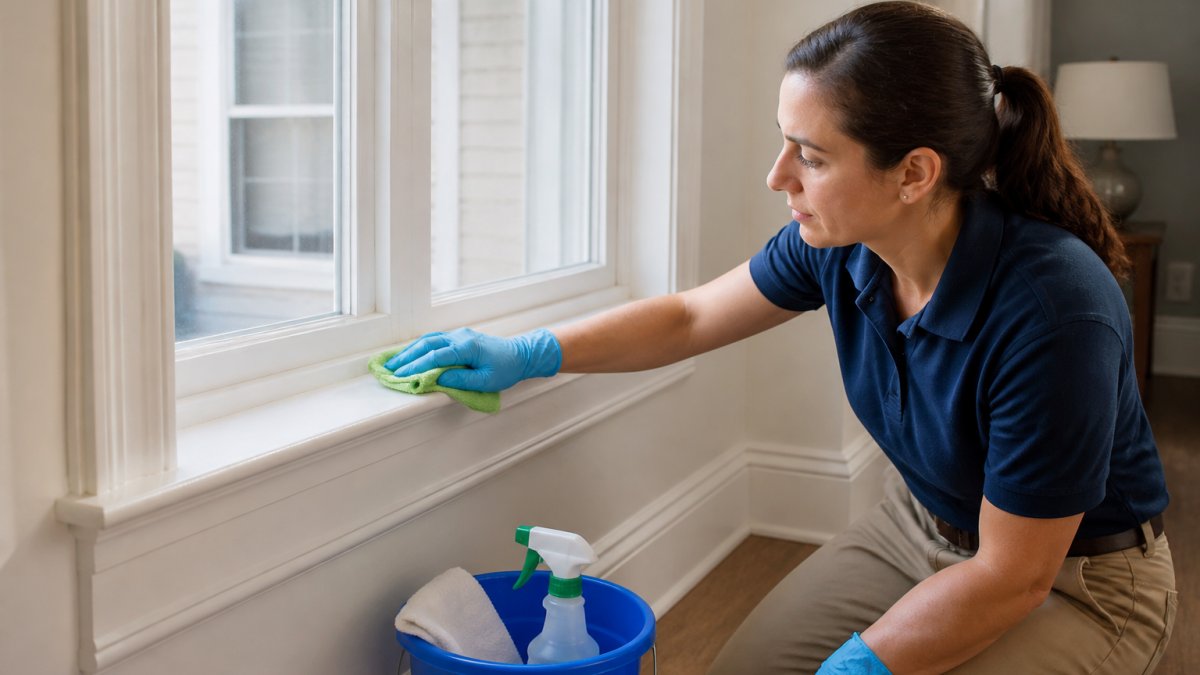
Wash toys, baby bottles, and formula bottles with soap and water and dry completely, as these items represent direct pathways for lead exposure to young children.
Step 3: What Not to Do Before Your Lead Inspection
Understanding what to avoid is just as important as knowing what to do. Certain actions can compromise the inspection, invalidate results, create safety hazards, or spread lead dust throughout your home, potentially making your property harder to remediate later.
Paint Disturbance and Remediation Timing
Do not scrape, sand, chip, paint over, or encapsulate any painted surfaces before sampling. Disturbing paint that may contain lead creates airborne lead dust, contaminates the sampling environment, makes lab results unreliable, and potentially exposes occupants to hazardous dust.
Do not perform any lead abatement, remediation, or lead-safe work before the initial inspection and dust wipe testing. Your Lead-Safe Certificate must document the property's condition after any remediation is complete. The correct sequence is: test before remediation, remediate, then test again (clearance testing).
Dust Disturbance and Sampling Integrity
Do not disturb or remove dust from window wells, baseboards, floor corners, or other areas where lead dust naturally accumulates, except for the routine cleaning described in Step 2. The inspector needs to sample these areas in their natural, undisturbed state. Excessive cleaning of sampling locations can artificially lower dust levels and mask true lead hazards.
Do not use lead-removal or lead-encapsulation products before testing. These products may temporarily reduce dust levels but do not address underlying lead hazards and can interfere with the inspector's assessment and future remediation.
Access and Transparency
Do not restrict the inspector's access to any rooms, closets, basements, attics, crawl spaces, or storage areas. Lead hazards can exist anywhere in your home. Blocking access may invalidate the inspection and jeopardize your rental license application.
Do not remove or hide documentation about your property's age, renovation history, or prior testing. Transparency helps the inspector understand your property's risk profile and ensures the inspection is defensible.
Step 4: Prepare Access and Documentation for the Inspector
To prepare home for lead inspection, ensure full access to all rooms and areas, including basements, attics, crawl spaces, and storage areas. Have your keys ready and secure pets safely away from the inspection area so the inspector can move freely.
Gather documentation related to your property, including previous inspection reports, renovation or repair records, and information about when your home was built. Documentation helps the inspector understand your property's history and potential risk factors.
Prepare a clear workspace (such as a kitchen table) for the inspector to set up equipment, organize materials, and complete paperwork.
Step 5: How to Pass a Lead-Safe Inspection
Passing a lead-safe inspection means your property meets EPA dust lead standards and qualifies for a Lead-Safe Certificate required by Philadelphia rental licensing.
Understanding EPA Action Levels and Test Results
Your property passes when dust wipe samples show lead levels below EPA action levels: 40 µg/ft² for floors, 250 µg/ft² for window sills, and 400 µg/ft² for window wells. If all sampled areas fall below their respective action levels, your property passes and you receive your Lead-Safe Certificate. If any area exceeds its action level, your property requires remediation before certification.
Passing is determined entirely by laboratory test results, not by visual appearance or cleanliness. The dust wipe samples reveal the true lead levels present in your home.
Preparation and Realistic Expectations
Start by ensuring your home is clean and well-maintained using the methods described in Step 2. Thorough cleaning of high-touch surfaces, floors, and window areas removes household dust that can interfere with accurate sampling. However, do not over-clean or use aggressive methods that might artificially lower dust levels, the inspector needs to see your home's typical condition.
If your property has deteriorating paint (chipping, cracking, or peeling), expect that dust testing may reveal elevated lead levels. Deteriorated paint is the primary source of lead dust in homes. Visual inspection alone cannot predict whether dust levels will pass or fail; only testing provides that answer.
If Your Property Fails: Remediation and Clearance Testing
If initial test results show lead dust levels above EPA action levels, you have clear options. The most common path is to hire a lead remediation professional certified by the EPA or your state to perform abatement work.
After remediation work is complete, you request clearance testing. The inspector returns and collects new dust wipe samples from the same locations.
Many landlords find that targeted remediation of problem areas costs less than they initially expected. For example, encapsulating deteriorated window sills or replacing window components is often more affordable than a full-home lead abatement.
Documentation and Compliance
Keep all testing documentation, lab reports, and your Lead-Safe Certificate for your records. These documents protect you legally and demonstrate your commitment to tenant safety and regulatory compliance. Philadelphia rental licensing requires that you maintain proof of lead-safe status and provide tenants with a copy of your Lead-Safe Certificate or lead hazard disclosure as required by law.
If you perform remediation and obtain clearance testing, keep both the initial test report and the clearance test report. Together, they document that your property was tested, any hazards were identified, remediation was performed, and the property now meets EPA standards.
Step 6: Understand Your Lead-Safe Certificate for Landlords
A Lead-Safe Certificate is your official documentation proving that your rental property meets EPA safety standards for lead dust.
The certificate is issued after dust wipe testing shows that lead levels are below EPA action levels. It certifies that your property is safe for occupancy and complies with local rental property lead requirements.
The certificate includes specific test results, the date of testing, the laboratory that performed the analysis, and the inspector's certification.
Certificates are typically valid for a specific period. Check your local rental licensing requirements to understand renewal timelines. If you perform remediation work after initial testing, you may need updated clearance testing to maintain your certificate.
Step 7: Know What Happens After Testing and Results
Once samples are collected, they're sent to a certified laboratory for analysis.
Lab results will show lead dust levels in micrograms per square foot (µg/ft²).
If results show lead levels below EPA standards, you receive your Lead-Safe Certificate.
If results show elevated lead levels, you have clear options: hire a lead remediation professional, perform targeted abatement work, or request re-testing after cleaning and repairs.
Keep all testing documentation, certificates, and lab reports for your records. These documents protect you legally and demonstrate your commitment to tenant safety and regulatory compliance.
Preparing your home for a lead inspection doesn't have to be stressful.
Frequently Asked Questions
What should landlords do before lead dust wipe testing?
Before lead dust wipe testing, clean all high-touch surfaces like window sills, floors, and door frames with damp cloths or disposable wet wipes to remove surface dust. Do not disturb, repair, or repaint any chipped or peeling paint in the days before testing. Ensure the inspector has clear access to all rooms and areas where samples will be collected. Provide any documentation about the property's age, previous repairs, or known lead hazards. This preparation helps ensure accurate sampling and demonstrates your commitment to compliance.
How long does a lead dust inspection take?
A typical lead dust inspection takes 1 to 2 hours, depending on the property size and number of rooms to be sampled. The inspector will conduct a visual examination of painted surfaces, window wells, and moldings, then collect dust wipe samples from high-touch areas and floors. After collection, samples are sealed and sent to a certified laboratory for analysis. You can expect results in 2 to 7 business days from the laboratory, depending on the testing service and any expedited options you select.
What is the difference between a lead inspection and a lead-safe certificate for landlords?
A lead inspection is the testing process that identifies the presence or absence of lead-based paint hazards and lead dust on surfaces. A lead-safe certificate is the official documentation issued after inspection and testing confirm that your property meets EPA safety standards for lead dust levels. The certificate is required for rental property compliance and serves as proof to tenants and regulatory agencies that your property has been tested and cleared. This certification is essential for legal rental property operations in many jurisdictions.
Can I clean my home before a lead inspection, or will that affect the results?
Yes, you should clean your home before a lead inspection, but only in specific ways. Clean high-touch surfaces and floors with damp cloths or disposable wet wipes to remove loose dust, which is normal household cleaning. However, do not repair, sand, or repaint any chipped or peeling paint before testing, as disturbing paint surfaces can release lead dust and skew results. Avoid aggressive cleaning methods that might alter the condition of painted surfaces. The goal is to present the property in its normal, lived-in condition while removing surface dust.
What happens if my property fails a lead-safe inspection?
If your property tests positive for lead hazards, you will receive a lead hazard notice identifying the specific locations and severity of the findings. You then have options for remediation or abatement, which may include encapsulation, replacement of painted surfaces, or professional lead removal. After remediation work is completed, you can schedule a clearance inspection and lead dust wipe testing to verify that hazard levels now meet EPA safety standards. Once cleared, you will receive an updated lead-safe certificate confirming compliance for rental property operations.