 how-to
How to Prepare for Lead Dust Inspection
Table of Contents
- Why Preparation Matters for Lead Dust Inspection
- Lead Dust Inspection Checklist: Pre-Inspection Cleaning Steps
- What Happens During a Lead Dust Inspection
- How Long Does a Lead Dust Inspection Take
- Lead Dust Wipe Testing for Rental Properties: What to Know
- What Not to Do Before Your Inspection
- Documentation and Safety After Testing
- Frequently Asked Questions
Last Updated: October 10, 2026
Why Preparation Matters for Lead Dust Inspection
Getting ready for a lead dust inspection isn't just about tidying up. It's about making sure the inspector can access surfaces properly and collect accurate samples. When your property is cluttered or dirty, it interferes with the testing process. Dust that sits on surfaces can skew results. Paint that's hidden by furniture can't be evaluated. Proper preparation helps the inspection move faster and gives you reliable results you can trust.
Properties that are ready for testing get cleaner samples and faster turnaround on results. This matters because you need accurate documentation for rental compliance. The EPA requires that lead dust inspection samples come from specific locations, windowsills, window troughs, and floors below windows. If those areas aren't accessible or are covered in clutter, the inspector can't do the job properly.
Lead Dust Inspection Checklist: Pre-Inspection Cleaning Steps
The key to a successful lead dust inspection is knowing exactly what to clean and how to do it safely. You don't need to deep-clean your entire home. Focus on the areas that will be sampled: windowsills, window frames, troughs, tracks, and floors directly below windows. These are the surfaces where lead dust accumulates most.
Clean Windowsills and Window Frames
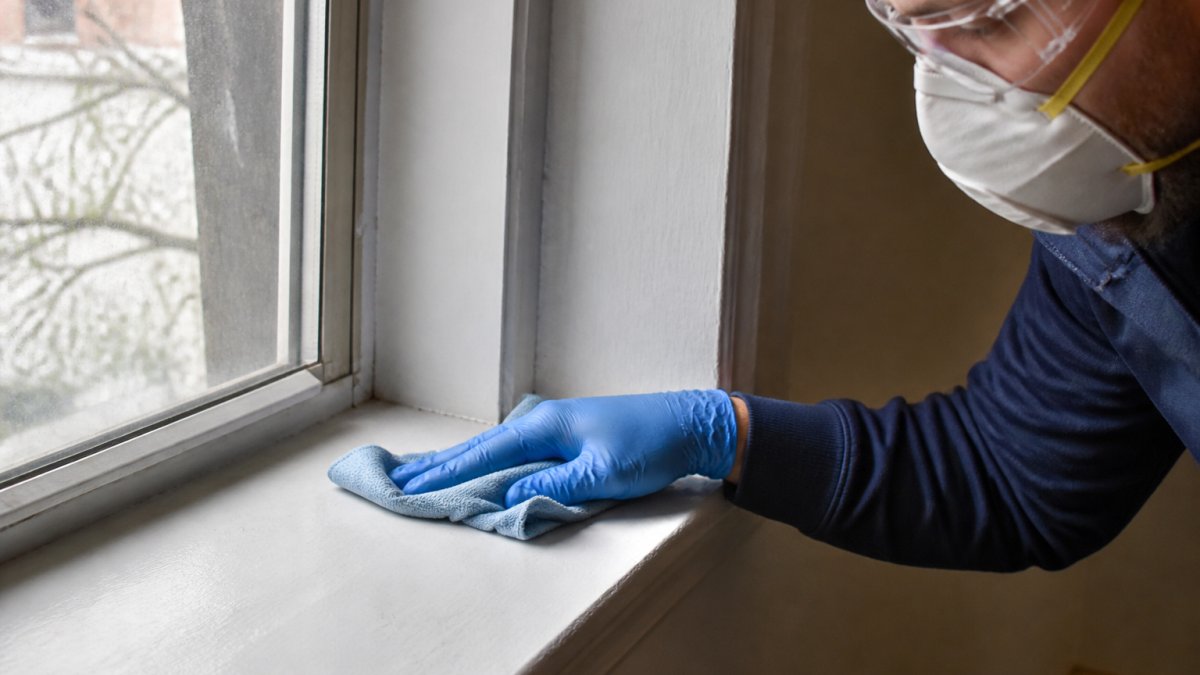
Windowsills collect dust naturally because they're horizontal surfaces exposed to the outdoors. Start by wiping them down with a damp cloth. Use warm water and a gentle detergent. Wipe in one direction, from the outside edge toward the inside. This prevents dust from scattering back onto the sill.
Pay attention to the corners and edges where dust hides. Don't scrub aggressively, you want to remove loose dust, not damage the paint. If the paint is peeling or chipping, leave it alone. The inspector needs to see the paint condition. Aggressive cleaning can hide evidence of deterioration.
After wiping, let the sill dry completely before the inspection. Damp surfaces can affect dust sampling accuracy.
Clean Window Troughs and Tracks
Window troughs, the channels where the window slides up and down, trap debris and dust. Use a damp cloth or soft brush to gently remove loose dust from these areas. A small handheld vacuum with a brush attachment works well here too.
Don't use compressed air. It blows dust around the room and can contaminate other areas. Work slowly and methodically. The goal is to remove surface dust without creating a cloud of particles.
Window tracks collect the most dust. Wipe them carefully with a damp cloth. If there's caked-on dirt, use a soft brush and water to loosen it first. Again, avoid aggressive scrubbing that might damage paint.
Clean Floors Below Windows
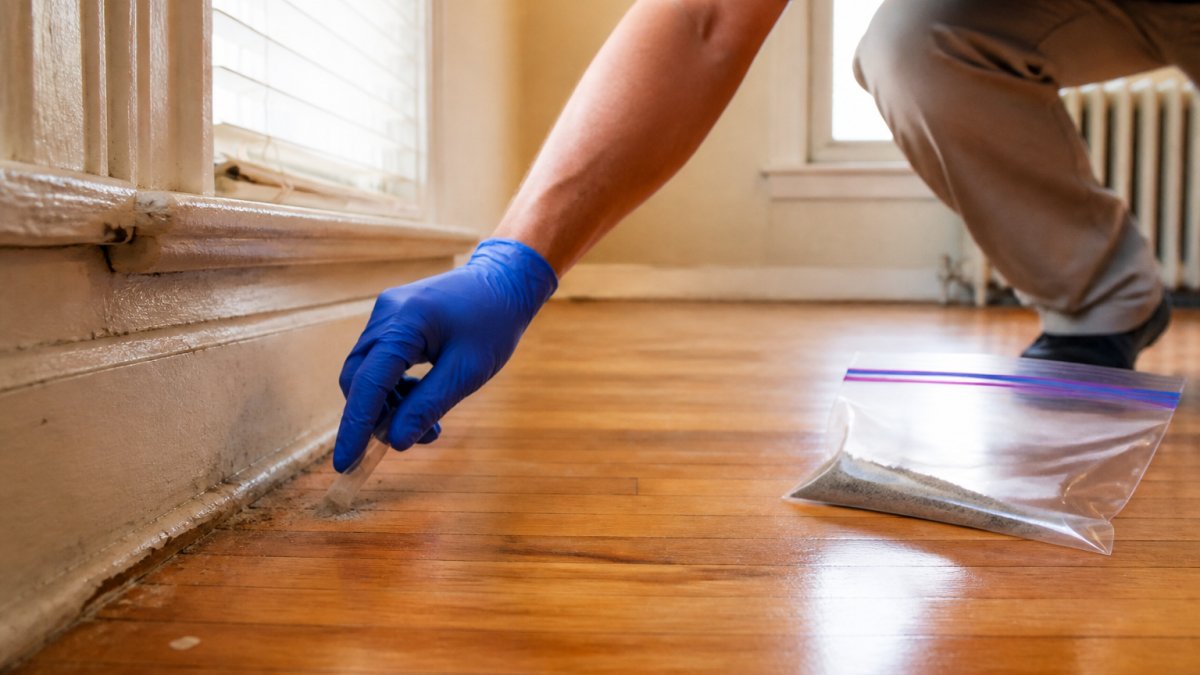
Floors directly below windows are critical sampling areas. Vacuum carpeted floors thoroughly using a standard household vacuum. Make multiple passes over the area to pull up embedded dust. For hard floors, sweep gently first, then wipe with a damp cloth.
Don't use a wet mop on hard floors right before the inspection. Excess moisture can interfere with dust wipe sampling. A damp cloth is fine. Let the floor dry before the inspector arrives.
Focus on the 12-inch zone directly below each window. This is where the inspector will collect samples.
Vacuum Carpeted Areas Thoroughly
Carpeting traps dust and particles that can affect air quality and test results. Vacuum all carpeted areas, especially those near windows. Use a standard upright or canister vacuum. Make at least two passes over each area, moving in different directions.
Pay special attention to corners and edges where dust accumulates. If you have a HEPA-filter vacuum, even better, it captures smaller particles.
Don't vacuum immediately before the inspector arrives. Let any dust settle for at least 30 minutes. Vacuuming stirs up particles that can affect sampling accuracy.
What Happens During a Lead Dust Inspection
A lead dust inspection follows a specific protocol, but it is important to understand how it differs from other lead-related inspections you may encounter as a landlord.
Lead Dust Wipe Testing (Most Common for Rental Compliance)
Dust wipe testing measures lead contamination on surfaces right now. The lab measures lead concentration in micrograms per square foot (µg/ft²) (the EPA).
Dust wipe testing is non-destructive, no paint is removed or disturbed. It shows whether your property currently meets EPA clearance standards for lead dust levels.
Visual Paint Inspection (Often Included)
During the visit, the inspector also visually examines painted surfaces for deterioration, peeling, chipping, cracking, or flaking paint. This is why you should not attempt to hide or repair deteriorated paint before the inspection.
Other Inspection Types You May Encounter
- Lead Paint Inspection: Identifies whether paint contains lead (using XRF, X-ray fluorescence, or lab analysis). This is different from dust testing and does not require the same pre-inspection cleaning.
- Risk Assessment: A comprehensive evaluation that combines dust testing, paint inspection, and visual hazard assessment. Preparation is the same as for dust wipe testing.
- Clearance Testing: Performed after remediation to confirm that lead levels have been reduced below EPA standards. This requires the property to be thoroughly cleaned and undisturbed for 24 hours before sampling.
What to Expect During the Visit
The inspector will:
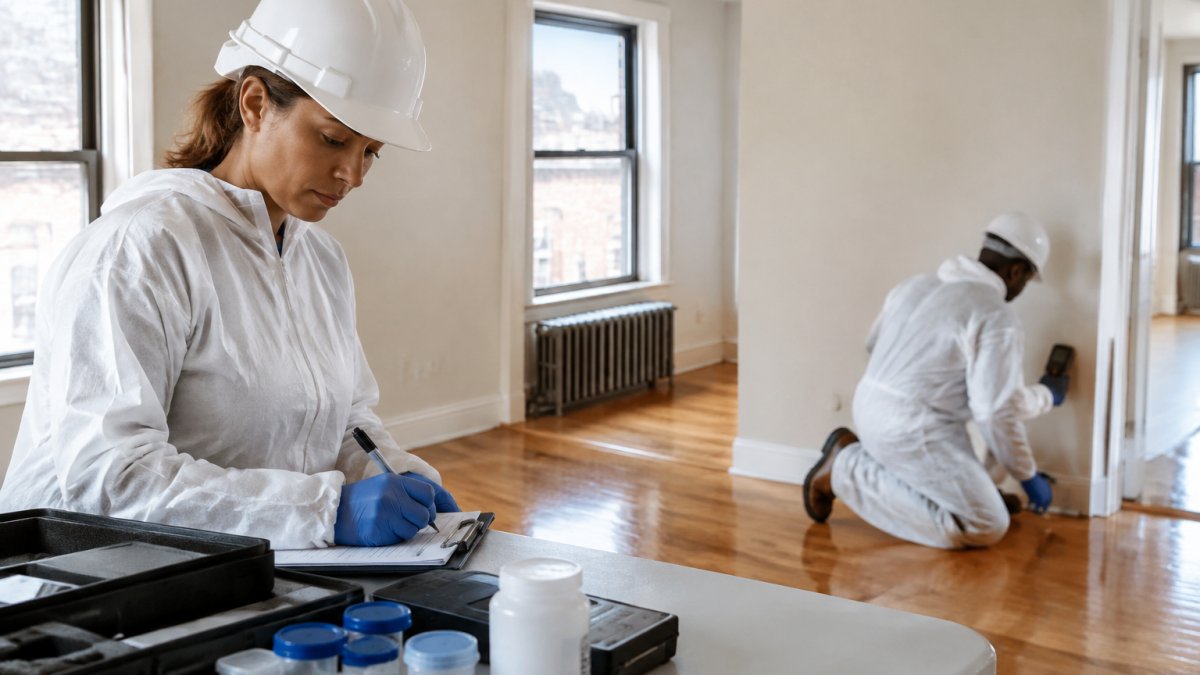
- Confirm access to all areas being sampled
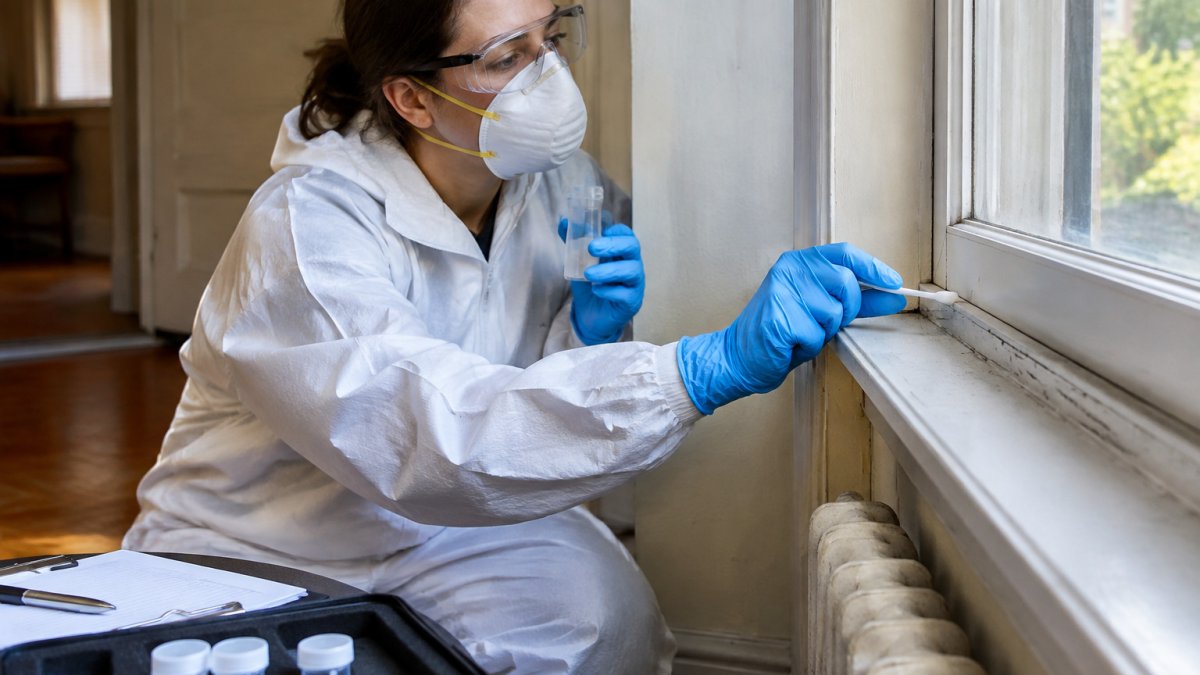
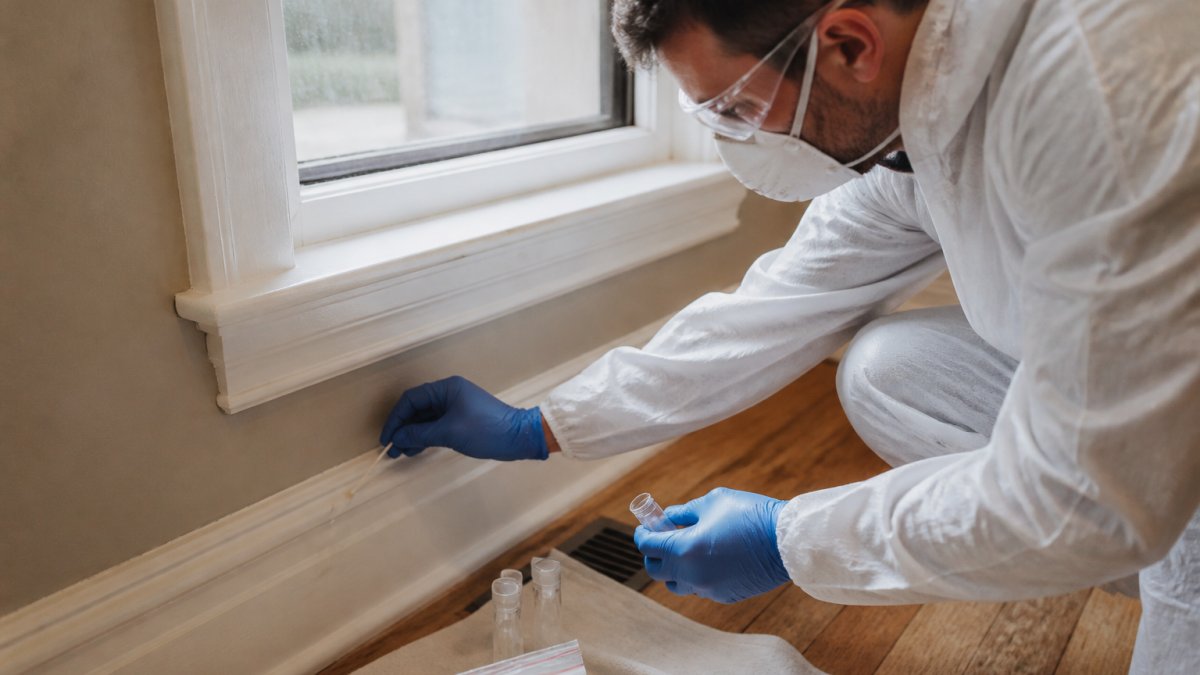
- Collect dust wipe samples from pre-determined locations
- Document the condition of painted surfaces
- Answer questions about the sampling process and timeline
- Provide you with a receipt or confirmation that samples have been sent to the laboratory
If children or pets are present, keep them away from sampling areas during the visit. The inspector does not need to disturb furniture or belongings unless they block access to windowsills or floors directly below windows.
After Sampling
Samples are sealed and labeled with your property address, the date, and the sampling location. This documentation is required for rental license compliance and protects you and your tenants.
How Long Does a Lead Dust Inspection Take
A typical lead dust inspection takes between 30 and 60 minutes for a residential property. The exact time depends on the size of the home and the number of windows. Apartments and smaller units move faster.
Beyond the on-site visit, you should plan for the full timeline:
Pre-Inspection Preparation (48 hours before): Complete your cleaning checklist at least 48 hours ahead. This allows dust to settle naturally and ensures surfaces are accessible without creating fresh particles that interfere with sampling.
Day of Inspection: Plan to be home and available for the entire visit. The inspector needs unobstructed access to all sampling areas, windowsills, troughs, tracks, and floors below windows.
Laboratory Analysis (2-7 business days): After samples are collected and sealed, they go to an EPA-approved laboratory. Turnaround depends on lab volume and the specific analysis method. Most results arrive within the typical 2-7 business days.
Post-Inspection Documentation (same day to 1 week): Once lab results are received, you'll get a detailed report showing lead levels at each sampling location, the EPA clearance standard applied, and whether your property passes or fails.
Questions to Ask When Scheduling:
- Which EPA-approved laboratory will analyze the samples?
- What is the typical turnaround time for results from that lab?
- Will you receive results electronically or by mail?
- Does the inspection include a written report with sampling locations and visual findings?
- Are there any areas of the property that should be off-limits or require special access?
Planning the full timeline, not just the 30-60 minute visit, helps you coordinate with tenants, manage expectations, and ensure you have documentation ready when your rental license renewal or compliance deadline approaches.
Lead Dust Wipe Testing for Rental Properties: What to Know
Lead dust wipe testing is the standard method for measuring lead hazards in rental properties. It's required for rental license compliance in many jurisdictions. The test measures lead contamination on surfaces, not lead in paint itself.
Wipe testing is non-destructive. No paint is removed or disturbed. The inspector simply wipes a measured area with a sterile cloth and sends it to the lab for analysis. Results show whether your property meets EPA clearance standards.
This type of testing is different from paint inspections, which identify lead-based paint. Dust testing measures the actual lead hazard present on surfaces right now. Both are important for rental compliance, but they serve different purposes.
What Not to Do Before Your Inspection
Don't disturb deteriorated paint. If you see peeling or chipping paint, leave it alone. The inspector needs to see and document it. Removing paint yourself can spread lead dust and create a hazard.
Don't use pressure washers or power tools to clean. These create dust clouds and can contaminate areas that haven't been tested yet. Stick to damp cloths and gentle brushing.
Don't seal or cover surfaces with new paint or caulk before the inspection. The inspector needs to evaluate the actual condition of painted surfaces and assess deterioration.
Don't vacuum immediately before the inspector arrives. Vacuuming stirs up dust that can affect sample accuracy. Stop vacuuming at least 30 minutes before the scheduled time.
Don't move furniture and then immediately clean. If you're moving items to provide access, do that cleaning a few hours before the inspection. Let dust settle.
Documentation and Safety After Testing
After the inspection, your samples are sent to an EPA-approved laboratory for analysis. You'll receive a detailed report showing lead levels at each sampling location. The report includes the EPA clearance standard and whether your property passes or fails.
Keep this documentation. You'll need it for rental license compliance and future property transactions. File it with your local housing authority if required.
If results show elevated lead levels, don't panic. Professional remediation is available. Many properties can be brought into compliance with targeted cleaning and paint stabilization. The team can explain your options and next steps.
If your property passes, you have documentation proving it meets EPA standards. This protects you and your tenants.
Getting your property ready for a lead dust inspection is straightforward when you know what to focus on. Clean windowsills, troughs, tracks, and floors below windows. Remove clutter so the inspector can access all areas.
99leadsafe.com handles the testing and provides the documentation you need for rental compliance. Our EPA-approved laboratory analysis gives you results you can trust. EPA lead hazard standards for residential properties require proper testing and documentation for rental properties built before 1978.
Frequently Asked Questions
What should landlords do before a lead dust wipe inspection?
Clean high-risk areas thoroughly: windowsills, window troughs, window tracks, and floors below windows. Use damp cloths or HEPA-filter vacuums to remove surface dust without disturbing paint. Do not attempt to hide peeling, chipping, or flaking paint, inspectors assess paint condition as part of the risk assessment. Ensure the property is accessible and document any recent renovations or paint work. Provide information about the home's age and any lead-based paint history if known.
How does lead dust wipe testing work in a rental property?
A certified inspector collects dust samples from measured areas using wipe samples on specific surfaces. These samples are sent to an EPA-approved laboratory for analysis to measure dust lead concentration. Results determine whether the property meets EPA clearance testing standards for lead hazards. The inspector documents all sampling locations and provides a detailed report. This process helps landlords understand their property's lead safety status and compliance with rental property requirements.
How long does a lead dust inspection take?
A typical lead dust inspection takes between 30 and 60 minutes for a residential property, though the exact time can vary depending on property size and the number of rooms being tested. Multi-unit rental properties may require longer visits. After the inspector collects dust wipe samples, the laboratory analysis typically takes 2-7 business days. You'll receive your lead-safe certification or results report once lab analysis is complete, allowing you to meet rental compliance deadlines.
What should I do if my rental property tests positive for lead?
If your property exceeds EPA clearance thresholds, you have options: hire a lead abatement contractor to address hazards, perform targeted cleaning and resampling, or disclose the lead hazard to tenants as required by law. Do not ignore results, rental properties with lead hazards must be reported and remediated according to local regulations. Consult your local rental authority for specific compliance requirements and remediation timelines.